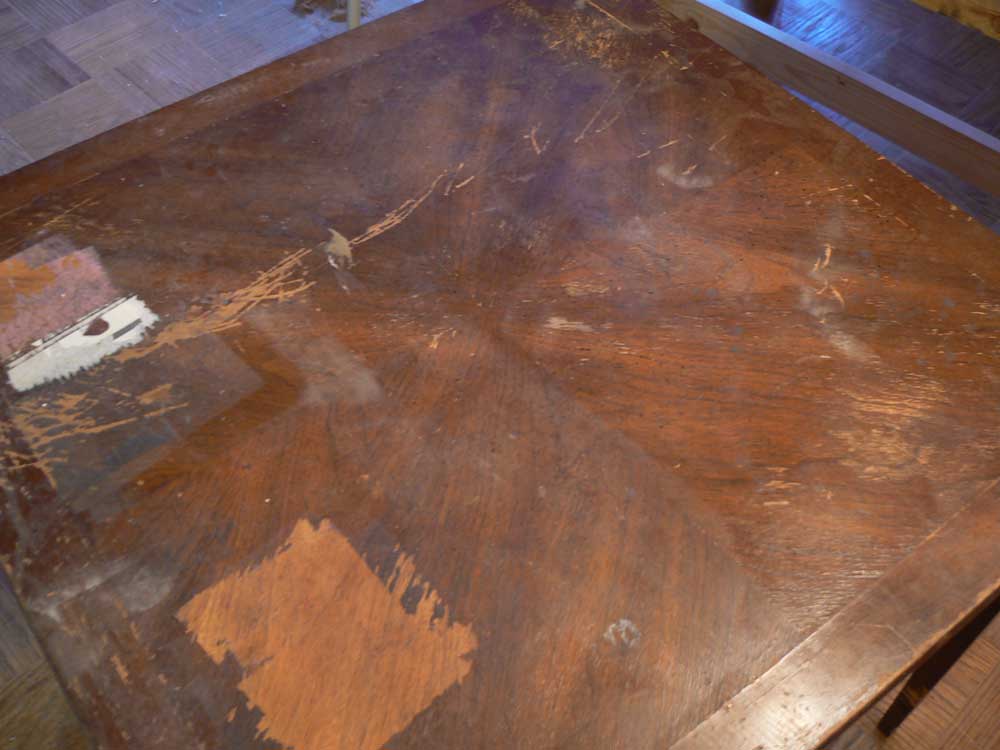
Story Time. So, in Los Angeles I lived in this comically tiny studio apartment. There, I did all my projects on this 3′ x 3′ table, which was also pre-landfill staging for junk mail and whatever else I was holding when I walked through my apartment door. Here is it in action:
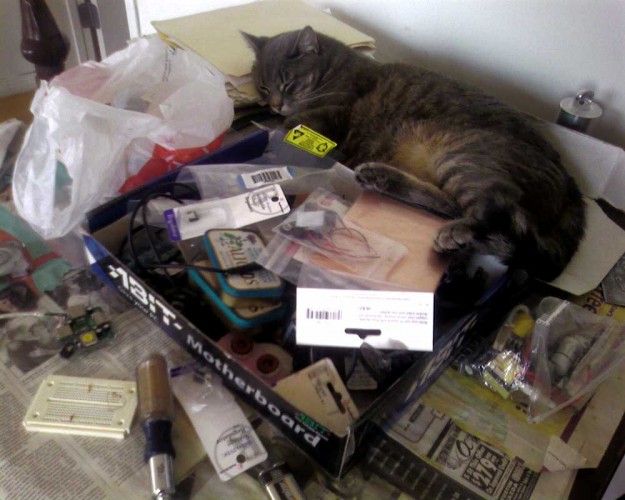
Over time this table, which was never exactly heirloom quality to begin with, became so covered with assorted solder/glue/paint, burn marks (thermal and chemical), and power tool ‘oops’ Events, as to be only an article of furniture by virtue of its horizontality.
When I moved into my spacious Portland apartment, I decided that I wanted a proper workbench, with room for cat storage and a soldering iron. Specifically, I wanted to be able to work with a 4′ wide sheet of material, and something sturdy enough that it wouldn’t jump around when I used power tools, with storage for all the little necessaries like sharpies…
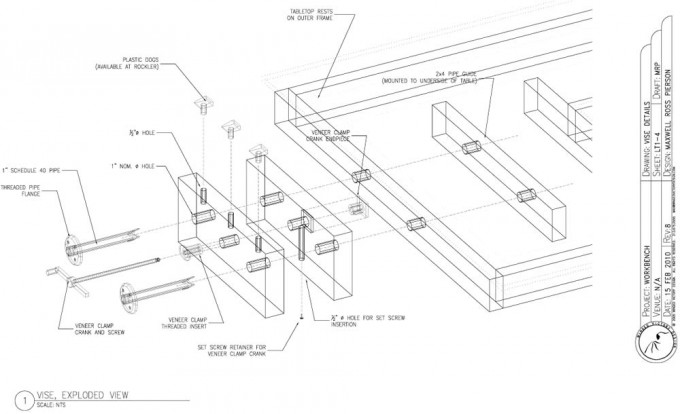
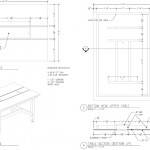
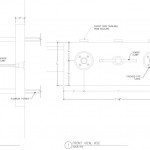
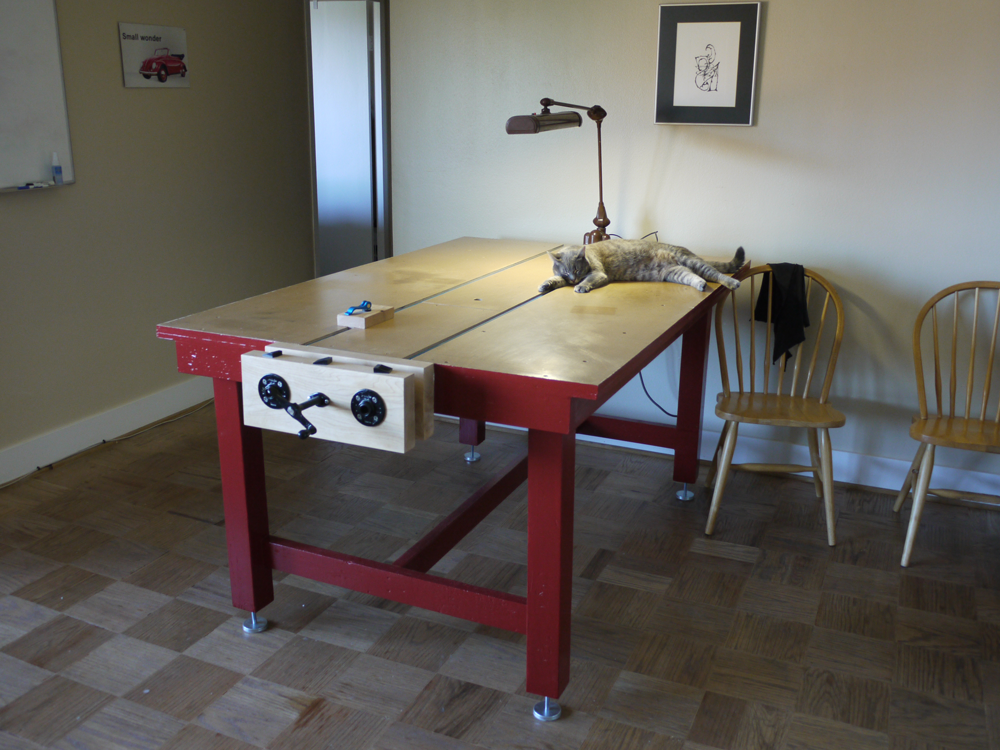 The tracks running perpendicular to the vise allow me to lock down any size material up to the length of the bench (6′). It also has a compartment in the center to hold sandpaper, etc. Here’s an exploded view (top and bottom) showing how it all goes together— the top is detachable to allow it to fit through a standard door.*
The Feet: I ordered the foot hardware from McMasterCarr, part #62805K42. Then I took some 1/8″ thick steel plate, drilled a hole in it and tapped threads to screw the foot in. I put a nut with an integral washer on it so that the weight of the bench would be distributed across the plate rather than resting on that 1/8″ worth of thread. Here’s a picture to help make this clear:
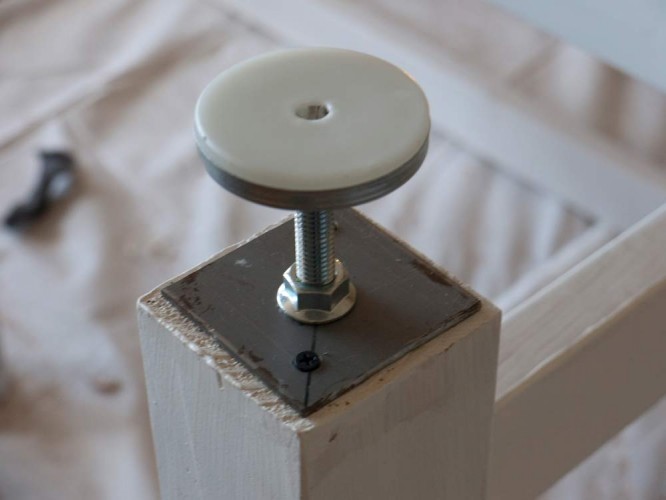
This has proven to be very sturdy. The bench itself weighs about 150lbs I would guess, and I’ve stood/sat on it several times to work on something.
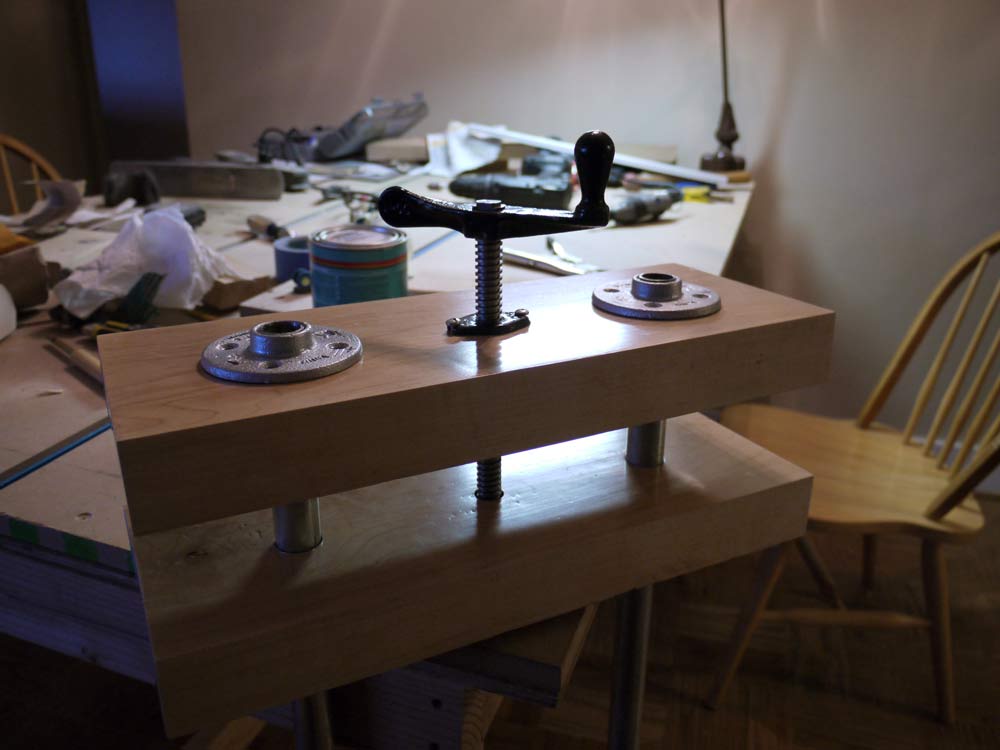
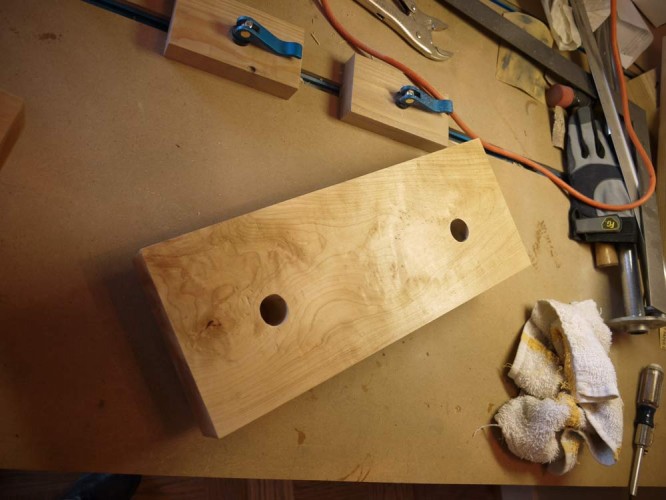
The Vise: I used maple because I really like maple, and Rockler had an offal block of it that they let go for cheap. It was subsequently pointed out to me that woodworking blocks are typically made out of a soft wood, to avoid marking up the work piece. So take that under advisement, I guess. The guides are just 1″ diameter pipe with flanges that I painted gloss black. It looks really nice with the stainless steel screws. The crank was made from a veneer clamp I got at Rockler. The set screw that comes on the end part of the crank is some really odd thread size, and if you over-tighten the vise it will break the set screw. If I was doing it again, I would drill out the hole, tap it with a more standard sized thread, and replace the set screw with grade 8 hardware. But it hasn’t been such a problem that I would consider taking the whole thing apart to get at it.
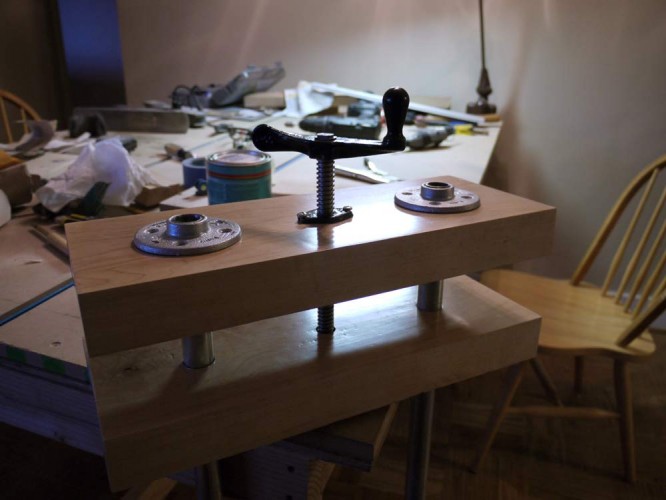 Remark the First: It’s really goddamn heavy, y’all–mostly due to the layer of MDF on top. This is good because it doesn’t jump around when you use power tools on it, but if you may consider using 1/2″ MDF on top and one-by framing material if that’s a concern for you.
Remark the Second: Having the vise in the middle of the front like it is has proven to be less than ideal. I find that when I lock something down to work on it I would rather have it near the corner for ergonomic reasons. You may consider moving the vise to one side or the other.
Remark the Third (*): It will fit through a standard 32″ door by detaching the top, standing the frame vertical, taking off the feet, and passing it through the door that way. It will pass through a 30″ door if you have enough space to rotate the first legs through, then the second (and probably take the door off the hinges). In my new San Francisco apartment, I have 29.5″ doors at the end of a narrow hallway, and I wasn’t able to get the frame through the door.
I modified the frame so that it is 30″ wide instead of 38″ to get it through the apartment door, which also had the advantage of moving the vise to one corner where it will be more useful, I think.
Plan downloads are available in Autocad DWG and Adobe PDF format.
